Celestron Advanced VX Mount Review
by Joe Bergeron
by Joe Bergeron
I studied the market and quickly narrowed the field to two candidates, both pretty new: the Celestron Advanced VX (whatever VX stands for) and the iOptron ZEQ25. Ultimately I settled on the Celestron, not least because it was readily available, unlike the iOptron. I was also a bit deterred by the tinkering that appears to be necessary with the Z mount, though its innovative design did appeal to me.
I ordered a VX from High Point Scientific, throwing in another hundred bucks for the 6” reflector version, because why wouldn’t I? A 6-inch scope for a hundred dollars? This is hardly even a decision.
The scope and mount arrived in a few days, not having very far to travel from New Jersey to my home in the polar wasteland of upstate New York. It was packed with the usual Celestron care and was in pristine condition. I set the telescope aside, having no immediate use for it, and delved into the big box holding the entire mount and tripod.
Note that I approached this purchase with much experience and understanding of equatorial mounts, but almost none with goto mounts. I had never owned one before. I had barely ever even used one, except for a few times when I picked up a hand controller and figured out how to find something with someone else’s telescope. That had happened about five times.
I assembled the mount quickly and easily, using my familiarity with similar Chinese mounts such as my Orion Skyview Pro. I was immediately impressed with the thing, which conveyed an impression of solidity and sophistication, especially for the $800 price. It looks nice and has big, decent knobs and levers for all adjustments. I noted with approval that the substantial tripod forgoes the little rubber feet that previous tripods of this kind usually had. Those useless feet always split and fall off after a few weeks or months. I was also impressed with the size and solidity of the alt-az adjustment section of the head, much more substantial than the arrangement on my SkyView Pro.
In the midst of a winter of Arctic character I dared not attempt to use the mount outdoors, but I did test it indoors to the extent that I could. Using a 5 amp AC adapter, I caused the mount to whir about while I marveled at this sorcerous display of 21st Century technology. I also performed dummy star alignments, noting that the mount pointed to approximately the right part of the “sky” even without proper input from me. Does this mount contain a tiny astronomer who turns the gears???
For weeks the mount sat in my studio so I could admire it until I could put it to use. Finally I packed it up for the cross-country drive.
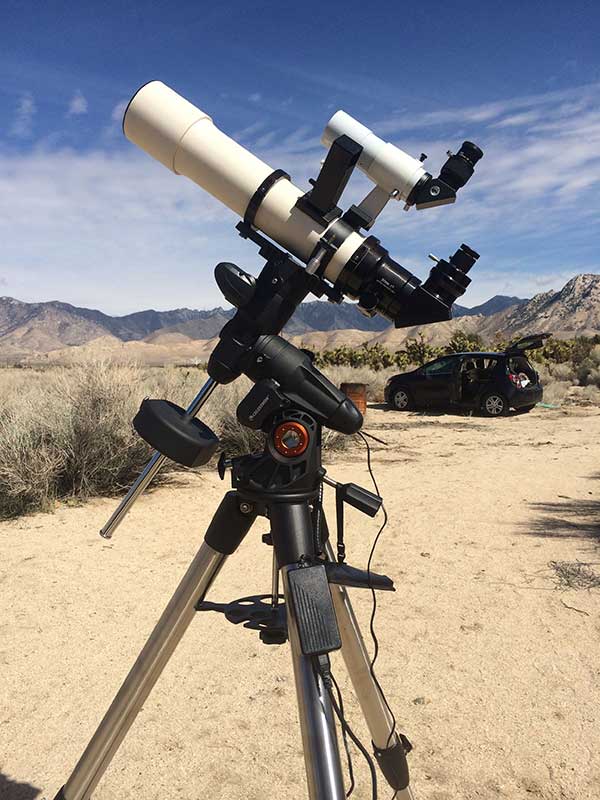
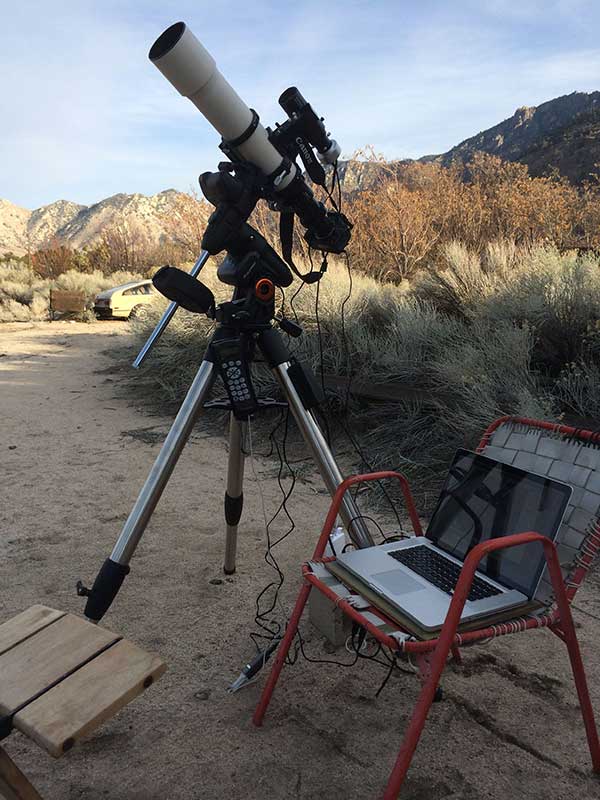
My arrival in California coincided with the first extensive rain that parched state had received in years. Clouds and rain obliterated most of the moonless period I had timed my trip to take advantage of. When that unruly storm finally passed I set up the mount with the little refractor (an imaging load of a mere ten pounds or so) for its first real use. I connected it to my Mac laptop running SkySafari Plus, Nebulosity, and PHD2 to control the Orion Starshoot Auto Guider and the little finder guider.
Having studied the manual in advance, I found the alignment procedure straightforward though time consuming for someone new to the process. I also employed the All Star Polar Alignment routine, also a straightforward process, which gave a result good enough to avoid any problems with my observing and imaging. I tried a few gotos and was immediately impressed with their accuracy. Controlling the telescope with Sky Safari Plus was an especially impressive example of the power of modern digital technology as the display showed not only the chosen target, but also its environs, with nearby objects I might be interested in checking out as well.
One thing I noticed later is that Sky Safari cannot be used in conjunction with PHD2. Sky Safari reports an error when guiding is in progress. Apparently only one application can be used to control the mount’s motions at a time.
Being well satisfied with the basic operations of the mount, I hooked up the mini-guider and camera and started imaging. I directed my hopeful gaze at the PHD2 graph and observed the guiding behavior. The graph jumped around quite a lot, showing errors in both axes of about 1.5 seconds of arc and never exceeding 3 seconds. The resulting images showed perfectly round stars with exposures ranging from five to ten minutes at a focal length of 600mm. I was quite pleased by this result and quickly developed a sense of confidence in the mount and its abilities. With further use it did sometimes show an uglier side.
The mount features only simple sleeve bearings in the declination axis, rather than ball or roller bearings. This can result in declination stiction and poor guiding in that axis, causing unpredictable DEC behavior and weird, large excursions and oscillations that can ruin exposures. Celestron's choice not to include decent bearings on this axis is the mount's greatest failing.
I encountered one other problem. With the mount set to a latitude of about 34 degrees, and with a light load on the mount, the stock 12-pound counterweight rides high on the shaft. This weight is quite wide, which makes it possible for it to foul the north-side altitude adjustment screw. The simplest solution would be to use lighter, smaller diameter weights. You don’t want the weight running into that screw and stopping a slew, ruining your alignment and possibly damaging your gears and motor.
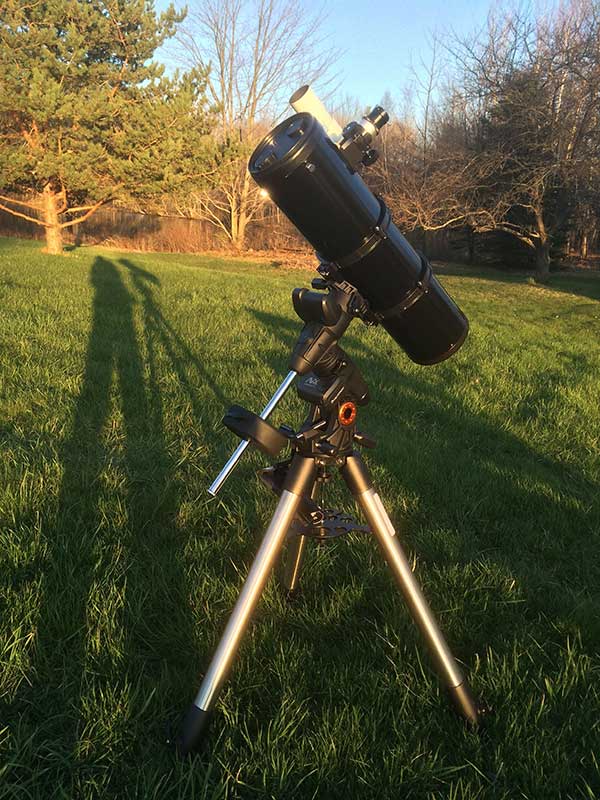
Months later, back in New York State, with Spring peeping warily at the grudgingly retreating tyrant called Winter, I had an opportunity to try the mount for visual use with the 150mm f/5 reflector it came with. This time the mount was powered by a 12-volt 17 amp-hour battery. It was immediately apparent that the mount is quite solid with a scope of this size or similar. Once the alignment was complete, I idly buttoned my way through a couple of dozen objects. All were almost exactly centered in the field of view at 60X. It even put objects in the field at 214X, the highest power I’m likely to use with this telescope. I was impressed with that level of accuracy.
A few words about the telescope itself. It’s okay, and a major bargain for a $100 add-on. It’s sharp and shows nice clean diffraction rings on stars and decent planetary images. On deep sky objects it performs about as expected. It makes no mention of Celestron’s vaunted XLT coatings, so I assume it has some lesser, more humble variety of mirror coatings. The focuser is tall and may reduce the functional aperture a bit.
 One curious quirk: the
rear of the mirror and the collimation adjustments are covered
by a metal plate which is attached with three small screws.
I’m not sure what this accomplishes, other than to slow down
mirror cooling and hamper access to the collimation screws. I
may just leave it off.
One curious quirk: the
rear of the mirror and the collimation adjustments are covered
by a metal plate which is attached with three small screws.
I’m not sure what this accomplishes, other than to slow down
mirror cooling and hamper access to the collimation screws. I
may just leave it off.In general, the scope is similar to the Omni XLT 150, which is reviewed elsewhere on this site. But it’s not as pretty, and some features, such as the focuser knobs, are not as nice.
Now we confront the matter of goto itself. I’m a long-time visual observer and star-hopper with a deep knowledge of the sky and considerable skill at object location (if I do say so myself). When imaging, goto is very convenient, allowing me to find my targets easily without having to take a lot of test exposures for finding and centering.
For visual observing, I’m more ambivalent. During the alignment process, during which I’m jumping through the hoops required by the hand controller for about 10 minutes (for the preferred 2 star + 4 calibration stars method), I could easily have located half a dozen objects from my own memory. At public outreach events it's best to set up before visitors arrive, so I can fiddle with the alignment (in the twilight) and not be distracted or neglect anyone. Of course once aligned, most people are impressed to see the telescope buzzing around on its own, finding things. They are even more impressed to see me controlling the scope remotely with my iPhone. In fact they might find that more interesting than actually looking through it, just as many people are mesmerized by green laser pointers.
I can easily and quickly find all showpiece objects (and more besides) myself, so in those cases I might do a quick fake alignment and then just move the scope around by hand and let it track. Or, I might prefer to use the much simpler Skyview Pro.
In summary: the AVX is a fine visual mount for any telescope within its capacity. It's also capable of imaging with shortish focal length scopes, though in that capacity it is marginal, and sometimes frustrating. I advise anyone seriously interested in imaging to go up at least one step in mount quality, if you can possible afford it.
|
DANGER!
The AVX has no fewer than seven RJ-11 ports, which are used to connect everything on the mount except the power. Since the ports are identical, it is perilously easy to plug the wrong thing into the wrong port, especially when setting up in the dark. This can very easily result in the instantaneous destruction of the mount's motor control board, rendering the mount inert, useless except as a purely manual push-to mount. I experienced this myself while conducting public astronomy outreach at a national park. I was unable to obtain a new board for a quick self-repair, so I was pushing my scope around by hand for the remainder of my stay at the park. After some whining and complaining on my part, Celestron agreed to repair the mount under warranty, a process which took months. Be very careful not to fall into this booby trap. Double check all connections before powering the mount. One little mistake is all it takes. |
Copyright ©2014 by Joe Bergeron
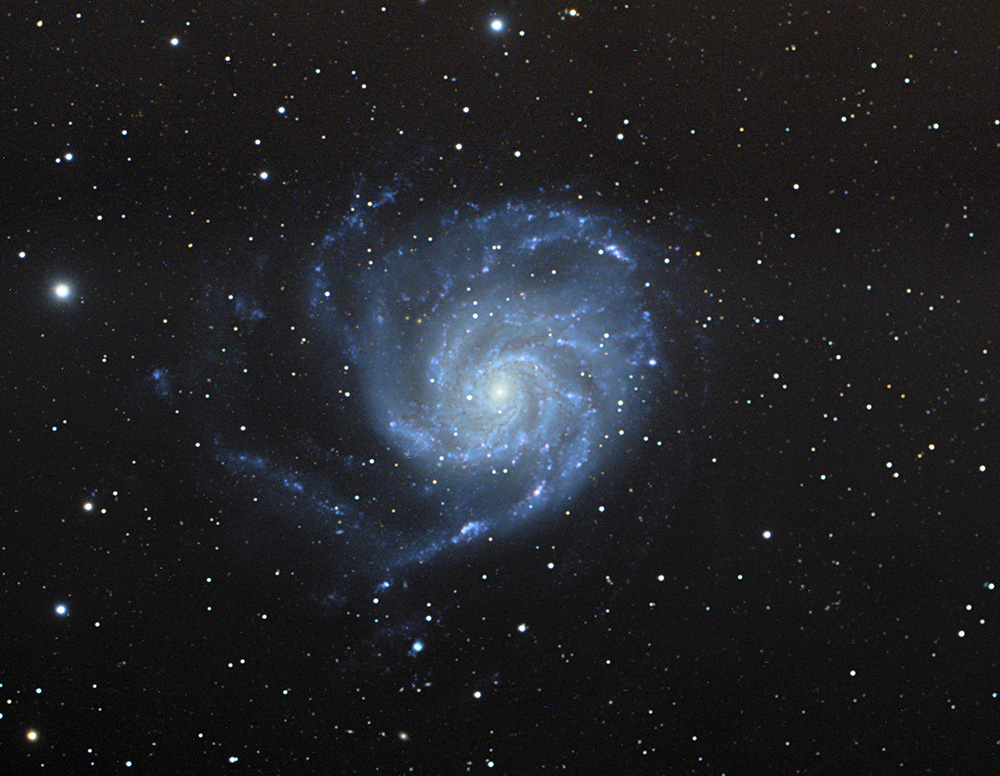
M101, shot with Stowaway refractor and AVX mount.
M101, shot with Stowaway refractor and AVX mount.
 |
 |
 |
 |
 |
 |
 |